Oracle Database Client(12.1.0.2.0) Installation for Microsoft Windows(x64)
Step1) Download Oracle Client 12C from below link
http://www.oracle.com/technetwork/database/enterprise-edition/downloads/database12c-win64-download-2297732.html
|
Oracle Database Client (12.1.0.2.0) for
Microsoft Windows (x64)
|
||
|
|
|
|
|
|
||
|
Oracle Database Client (12.1.0.2.0) for
Microsoft Windows (32-bit)
|
||
|
|
|
|
chose the one based on your laptop
Step2) Extract the downloaded file
Oracle 12c 64 bit client has now been extracted.

Double click ‘setup.exe’.
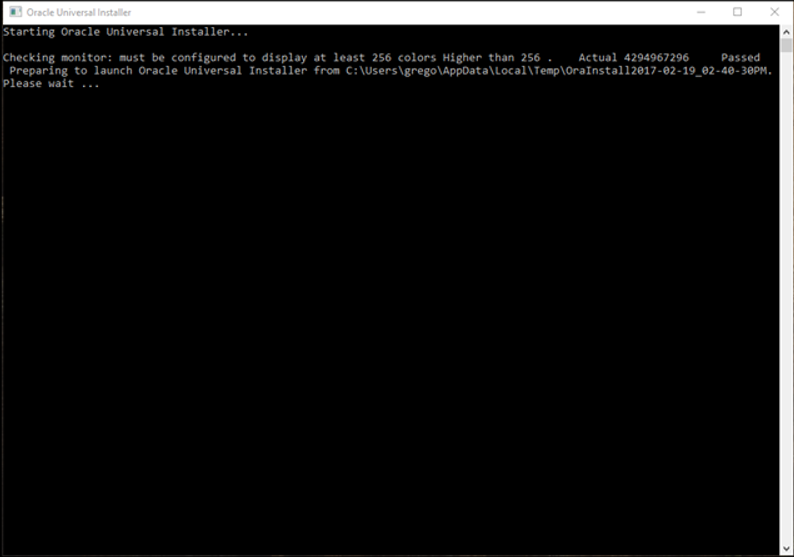
This may test your patience, let it work! (Sometimes a minute or
less can seem like an eternity).
Don’t touch anything!

Administrator: Enables applications to connect to an Oracle
database on the local system or on a remote system. It provides tools that let
you administer an Oracle database.
Runtime: Enables applications to connect to an
Oracle database on the local system or on a remote system
Choose according to your need.
Click Next.

Choose language.
Click
Next

Accept the default Windows Built-in Account – my preference.
Click Next.

Accept as it shows default – my preference.
Or change to reflect your own environment.
Click
Next

Working…
Relax, the Prerequisite Check should complete successfully
momentarily. If not, check the log files and correct as directed.

Verify Global Settings. No changes should be required at this
point.
Click Install.

Be patient, the process is working.

Pay Attention Note : The
default is ‘Public networks, such as those in airports and coffee shops
…’. Depending on your local JAVA implementation, you may or may not get
this message. If you do, it is HIGHLY RECOMMENDED to CHANGE the default to
‘Private networks, such as my home or work network’.
Click
Allow Access

Success!! Party time!
You have now just installed the Oracle 12c 64 bit client!
Click Close!
Step3)
Create a file called
tnsnames.ora with your specific database connection information on a location
D:\app\client\pavan\product\12.1.0\client_1\network\admin\tnsnames.ora
ORCL
=
(DESCRIPTION =
(ADDRESS_LIST =
(ADDRESS = (PROTOCOL = TCP)(HOST =
192.168.56.102)(PORT = 1521))
) (CONNECT_DATA =
(SERVER = dedicated)
(SERVICE_NAME = orcl.mydomian.com)
)
)
Step4)
Now let’s go create the TNS_ADMIN environment variable!!

Click ‘Advanced system settings’.

Click ‘Environment Variables’.


D:\app\client\pavan\product\12.1.0\client_1\network\admin
Click OK.

Step
5)
Conn
to database as user, we need to
select
sqlplus.exe on location D:\app\client\pavan\product\12.1.0\client_1\BIN
or
type sqlplus in cmd prompt

Enter user-name:
pavan@"192.168.56.102/orcl.mydomain.com"
'pavan'
is user on a database
'orcl.mydomian.com'
is service name
Finally
you logged as a user to database.

Comments
Post a Comment